Quality product photography is a great way to grab your customers’ attention and elevate your brand image. Consumer surveys have shown that most shoppers consider visual appearance above other factors when making online purchases, and buyers often return products that do not look the same as in photos.
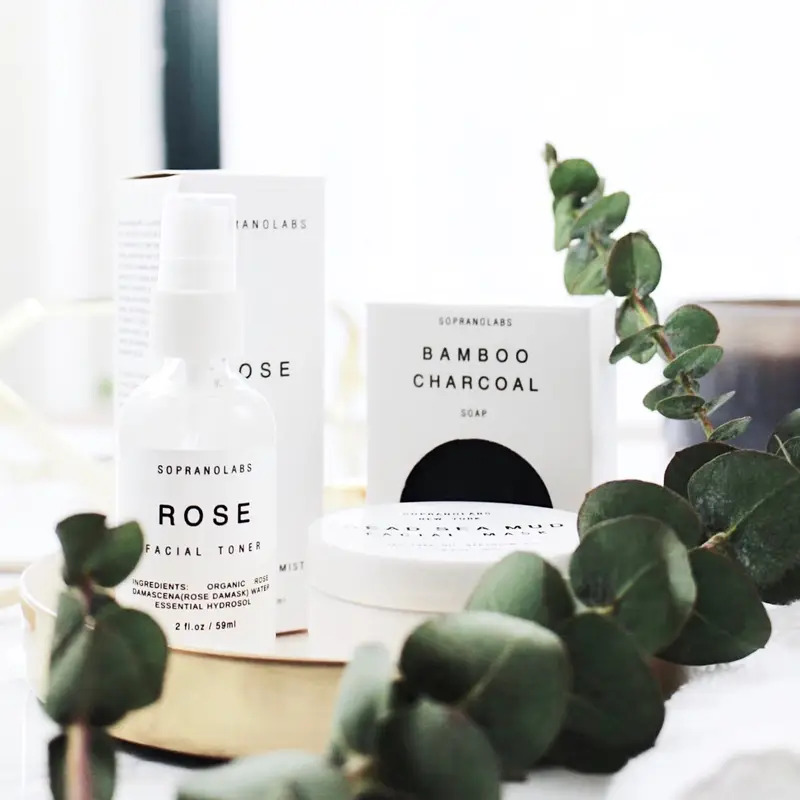
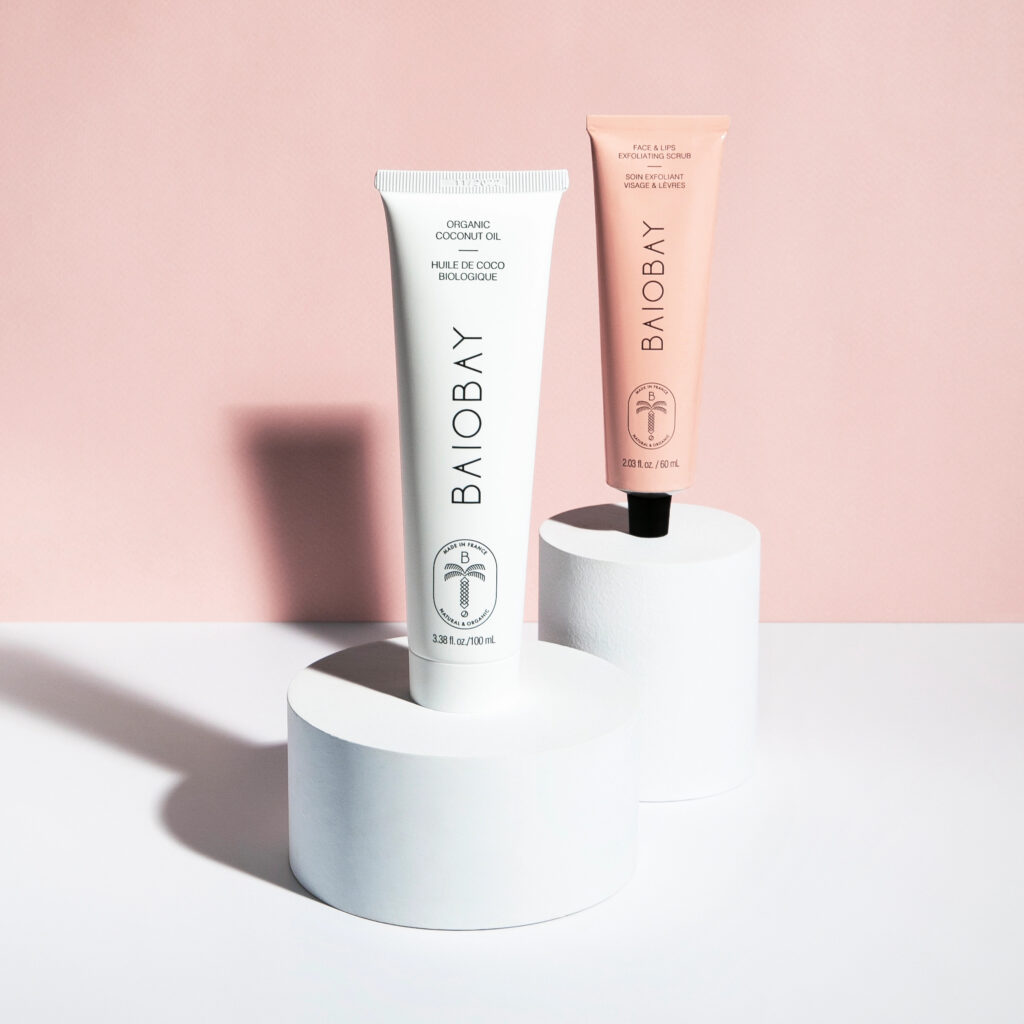
The right product photography can also encourage social sharing and increase conversion rates with retailers. In fact, many of Faire’s top brands attribute their success in part to their quality product photography. Inna Los, Co-founder of vegan beauty brand SopranoLabs, credits her brand’s growth in part to the high-resolution photos and minimalist aesthetic. Margaux Tron-Brossard, founder of French cosmetics brand BAIOBAY, shared that she frequently updates the photos and videos on her shop page to stand out on Farie’s marketplace.
To help our community create high-value images—without the help of a professional—we’ve gathered some tips and insights to help you master the art of merchandise photography.
How to prepare for the shoot
The first step to taking great product imagery is getting the right equipment. Today, both smartphones and professional cameras can create quality product photography. If you do use your smartphone, make sure your camera has at least 12 megapixels and an autofocus feature to avoid grainy, pixelated, or out-of-focus photos.
To set up your shoot, try to find a room with good natural light, a solid table or chair with an even surface, and a white background. Shooting on a bright but somewhat cloudy day will help avoid excessive glare.
To achieve the best results, consider investing in white bounce cards—flat pieces of material with a reflective surface on one side—to create ambient lighting. Finally, you’ll want a basic tripod to prevent angles from shifting throughout the shoot.
Taking quality pictures
When you’re ready to start shooting, you’ll need to set up your white background. Ideally, you’ll use a “sweep”—a curved screen that creates a seamless background and makes the product appear suspended in the air—but you can also use white craft paper and tape to create a background over a chair.
Once you have the surface and background set up, position your camera on the tripod at a good distance to shoot various perspectives and angles. Eye-level shots are usually the most important because they show the product straight-on. If you’re using your smartphone, try switching to portrait mode to place the emphasis on your product and blur the background.
You can also include bird’s eye shots that show the product from above, low angles that show the product from below, three-quarter shots that are taken slightly from the side of the item, and back angles that are taken from behind at close range to showcase important details like an ingredient list.

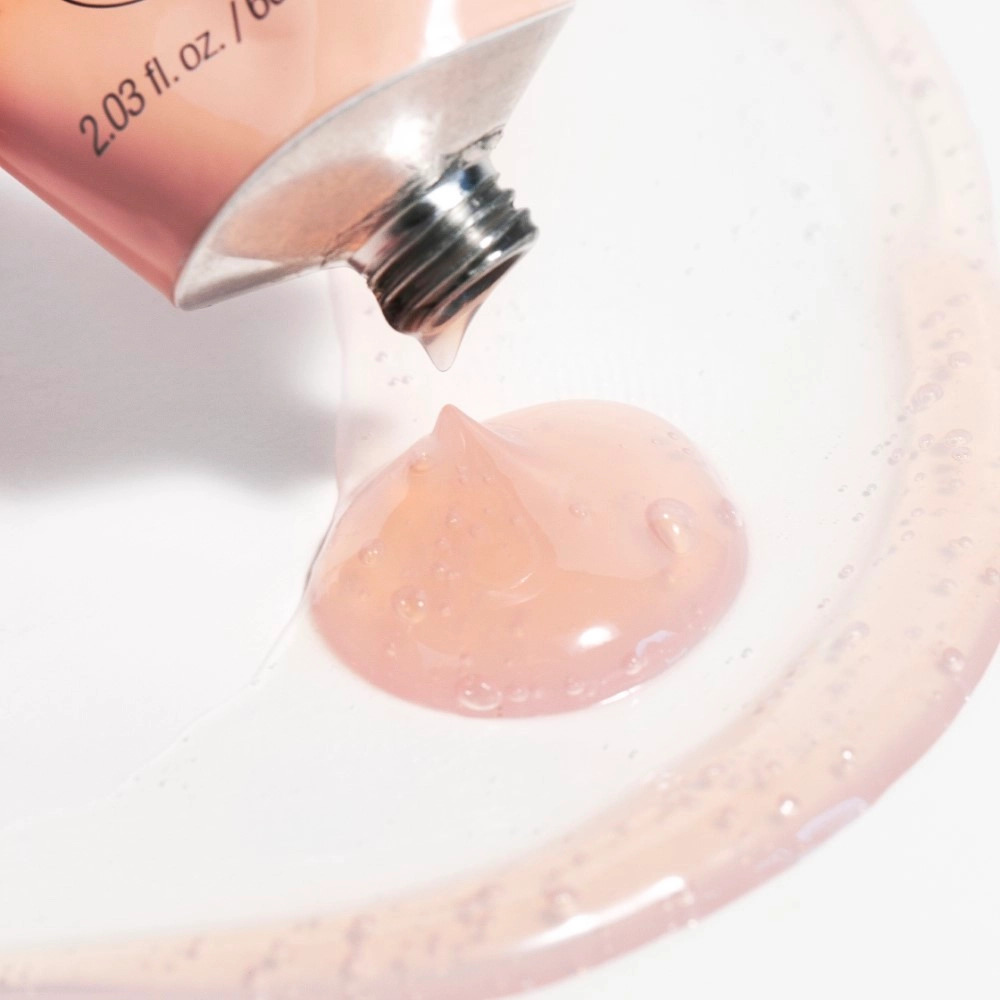
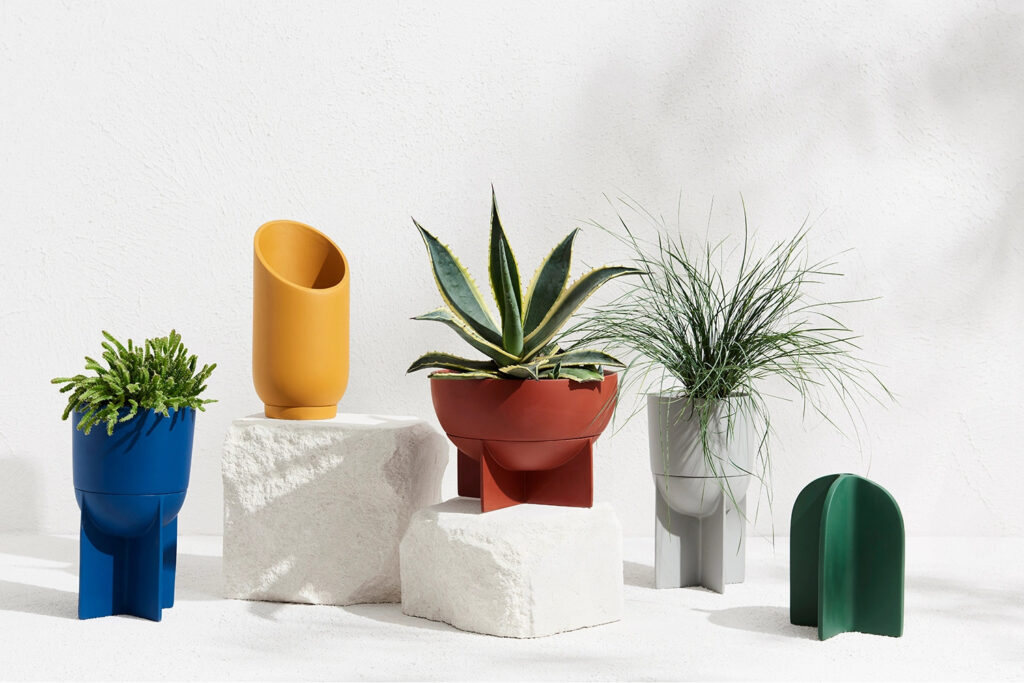
If you only want a few photos, aim for uncluttered images that showcase your product at the center. If you want to do more, try taking lifestyle images that show your products in use, group shots for kits or bundled products, detailed images that zoom in on specific features, or scale shots that show the product next to familiar items to demonstrate size. If your products come in beautiful boxes or bags or have a unique label, you can also consider packaging shots. Take more images than you think you’ll need so you have options to choose from.
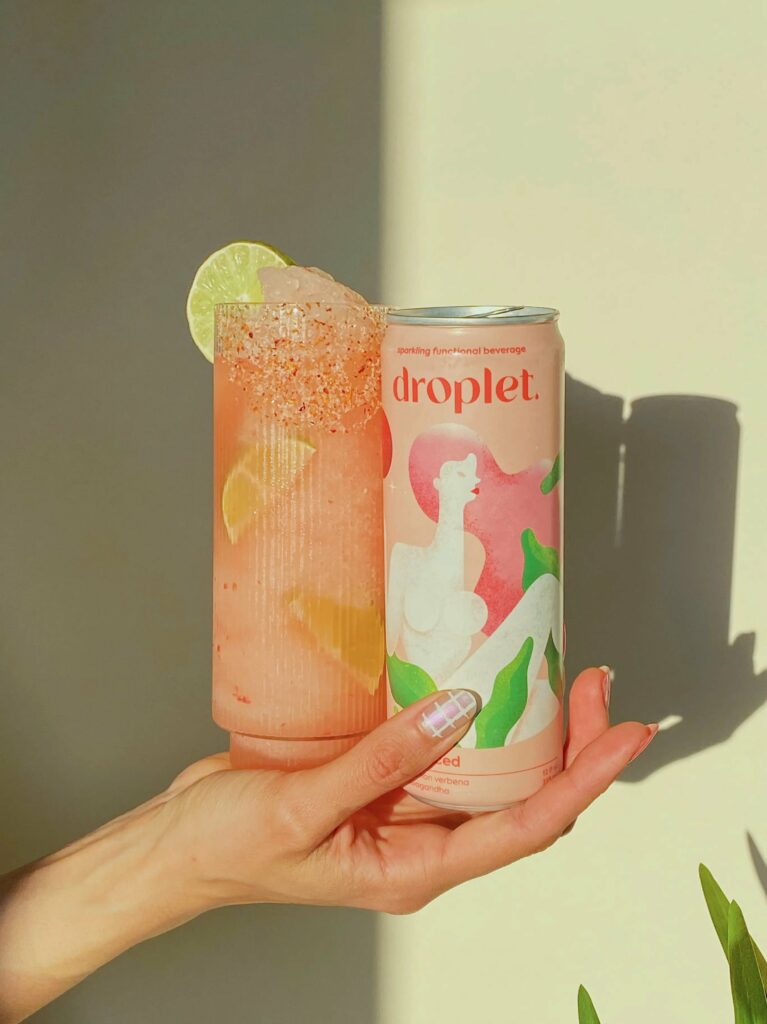
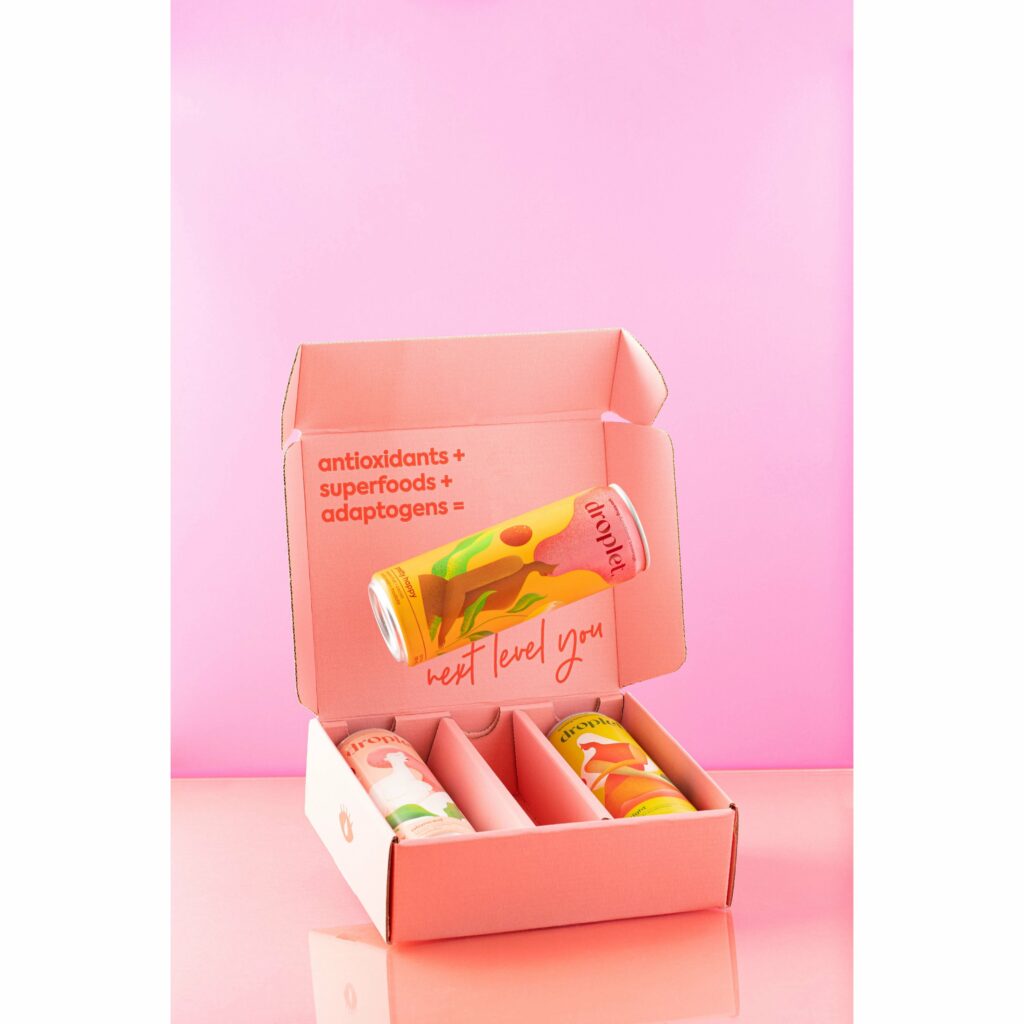
Images courtesy of Droplet
Optimizing your photos for the web
Carefully edited product photos often look better than untouched photos. If you’re new to photo editing, consider browsing some Adobe Photoshop tutorials to learn the basics. You may also want to invest in a photo editing software program like Adobe Photoshop, Canva, Pixlr, Fotor, or Snapseed.
When selecting your photos, choose images that look cohesive next to one another. Next, make sure your photos are cropped into a square ratio that is sized at 500×500 pixels or higher for best results. From there, you can make edits like minimizing glare, brightening images, increasing the saturation of colors, and more
Finally, once you’re satisfied with your edits, it’s time to put your product photography to use. Frequently uploading new images helps keep your Faire shop page, webpage, and social media accounts fresh and relevant. Make sure to include short, detailed product descriptions alongside your images that provide enough information to inspire a purchase without too many unnecessary words or flowery language.
Read Faire’s product photography guidelines and visit the Help Center for more information on optimizing your Faire shop.